I just did some more
carbon fiber work in my GLI and thought i would provide a little how to.
First the finished product
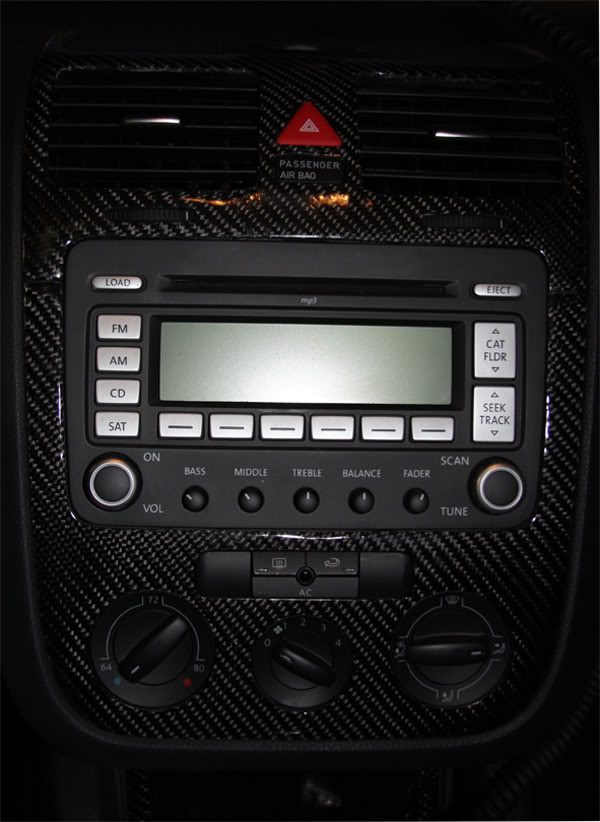
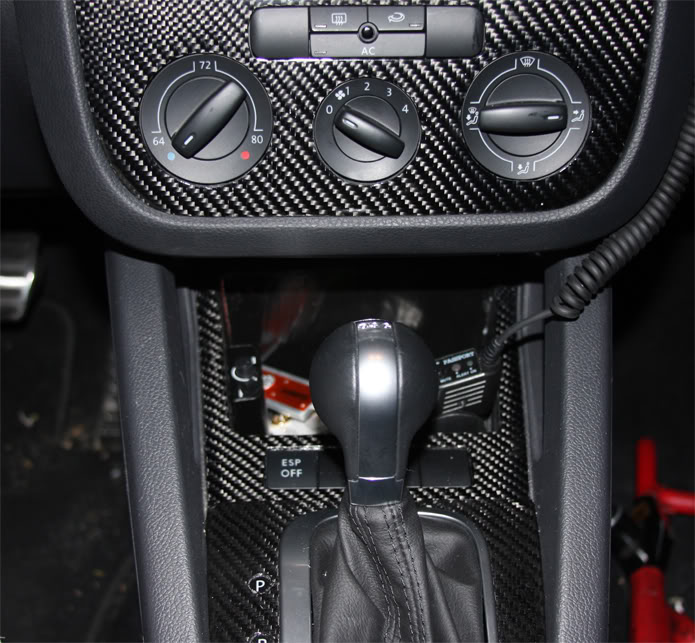
WARNING I am in no way an expert on anything and this is just how i went about doing this in my own vehicle proceed at your own risk you could destroy your interior.
first unhook the battery otherwise your airbag light will be on and require
vag-com or a dealer to turn off.
now you can remove the pieces to work on
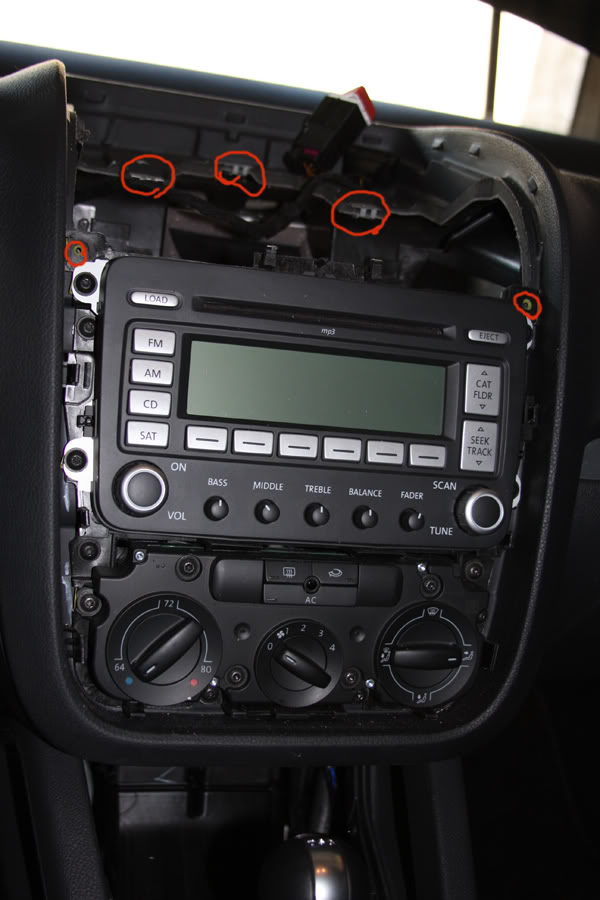
there are five T20 screw holding these pieces on and the rest uses clips just use gentle pressure to pop the clips out. i also removed the center vents from the trim piece which can be a pain due to the clips being very tight.
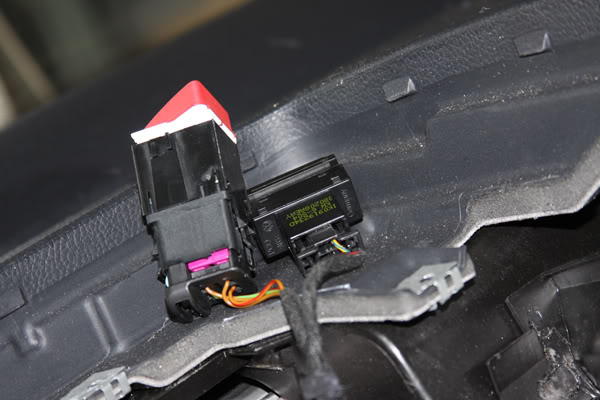
After the pieces are removed i hook the electronics back up just in case for some reason you need to move your car so you don't get the air bag light, i ended up with the light because of a freak storm and needing to move the care so it is just cheap insurance
Next is the point of no return
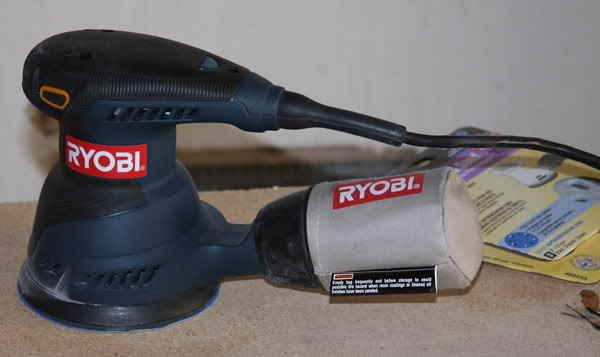
i used a 100 grit to scuff up the plastic to promote adhesion
next cut out the
carbon fiber cloth to your desired size and mix your resin I used us composites for all of my supplies very good company to work with so far
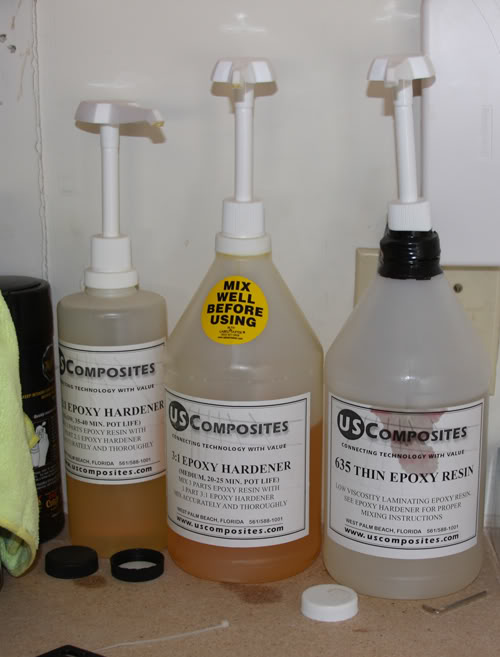
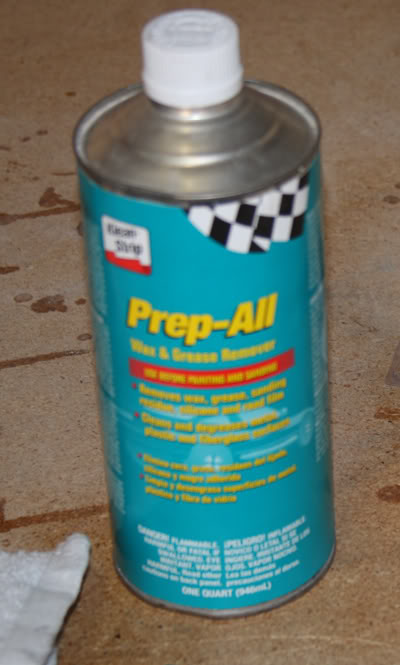
After using a prep all solution to make sure it is clean i started by applying resin to the part then laying the carbon fiber onto the piece and proceding to wet the material down with more resin.
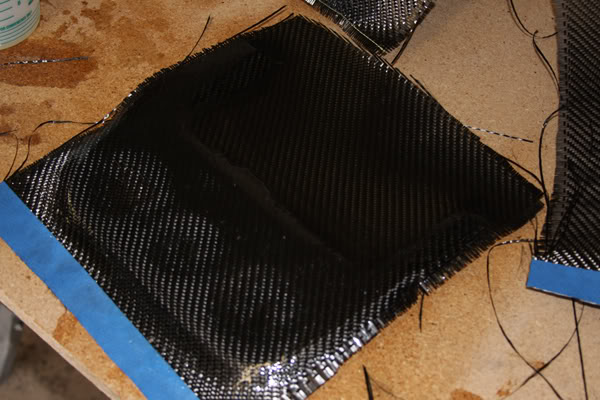
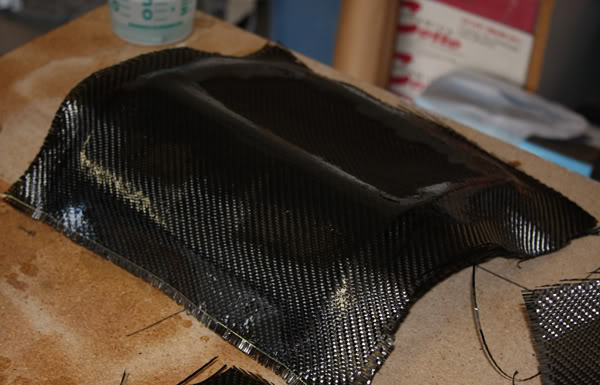
i then continues to use a brush and metal roller that is sold by us composites to remove air bubbles.
let this start to dry and apply a few More layers of resin (we will be sanding)
when it has completly dried it is time to remove the excess
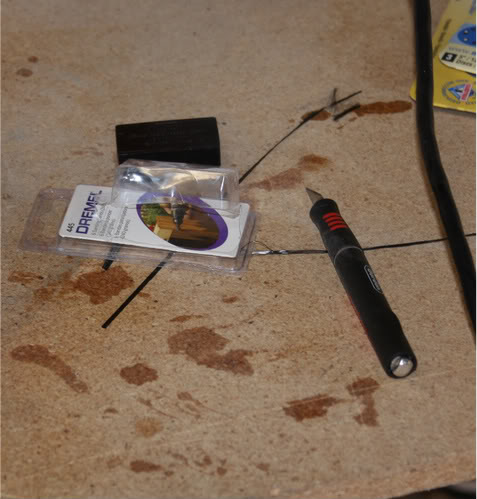
exacto and dremel are the fastest just don't slip and ruin the piece
after you are happy with the trimming its time to sand the resin smooth. just do not get into the carbon fiber or it will be ruined go slow and have some patience. finish it with around 500 grit and get ready to clear use more prep all to remove all dust.
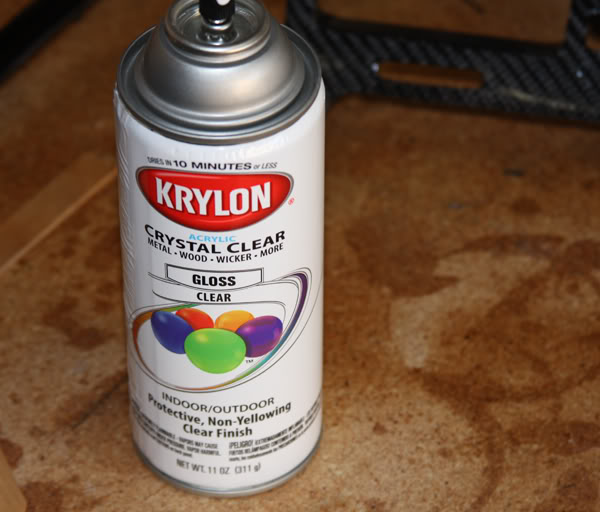
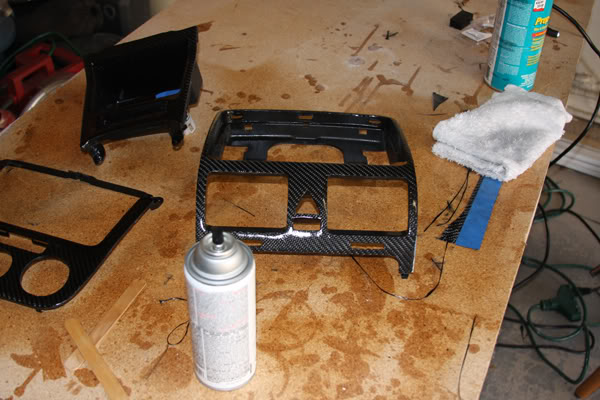
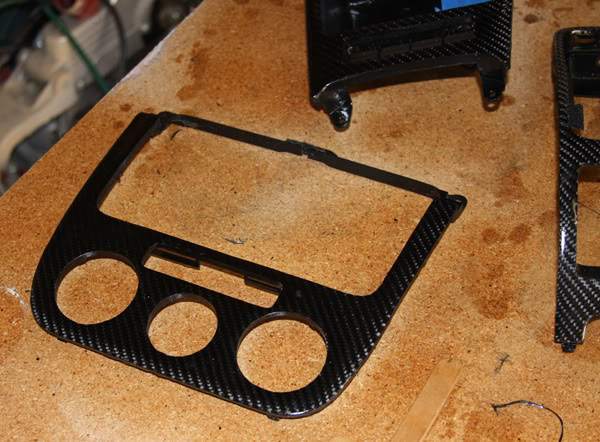
now that it looks pretty good it is time to sand some more. i wet sanded with 1500 grit to level it better. Now its time to buff it
this is the best stuff i have ever used i got it at a local PPG paint store
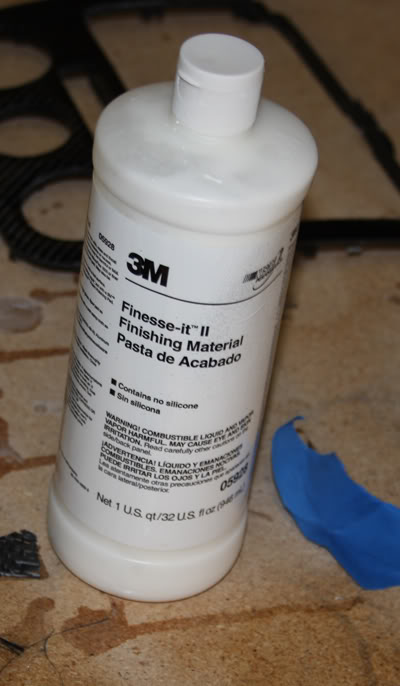
now it should be looking like glass, and a
final coat of wax
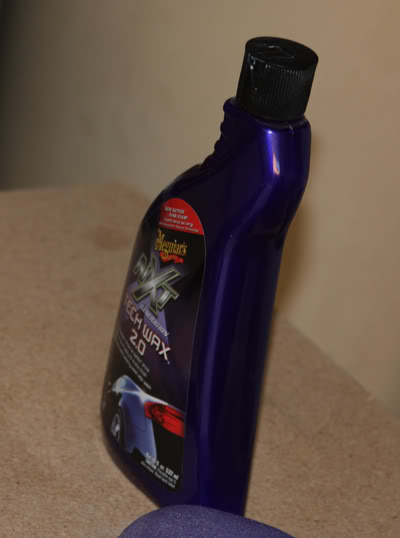
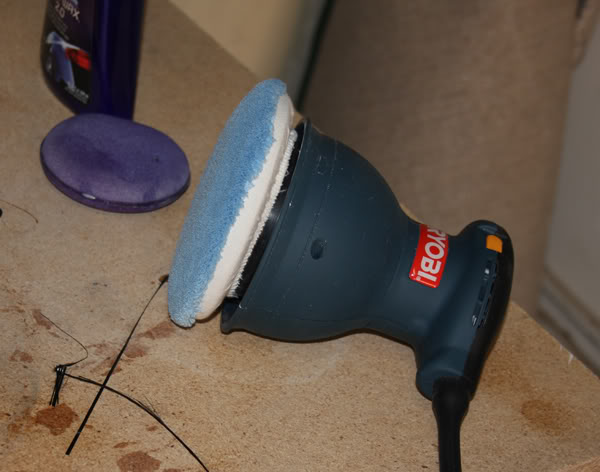
nice
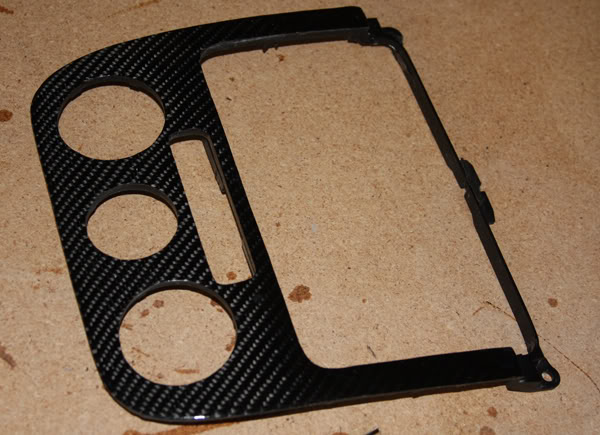
now put it all back together
i am very satisfied on how it looks in my car and thought i would share a little


 Απάντηση με παράθεση